Vinyl plank is the most DIY-friendly floor we sell - it clicks together, cuts with a utility knife, and shrugs off spills. But the difference between a floor that looks factory-finished and one that shows gaps in a year comes down to a handful of habits. Here's how we install luxury vinyl plank in the Tri-State Area, step by step.
Step 1: Prepare the Space
Pull up baseboards and the old floor, then sweep and vacuum the subfloor until it's spotless. Fill cracks and level low spots with a leveling compound - click-lock floors will telegraph every bump underneath. Let the sealed boxes of planks sit flat in the room for 48 hours so the material adjusts to your home's temperature and humidity before it's locked together.
Step 2: Pick Your Pattern
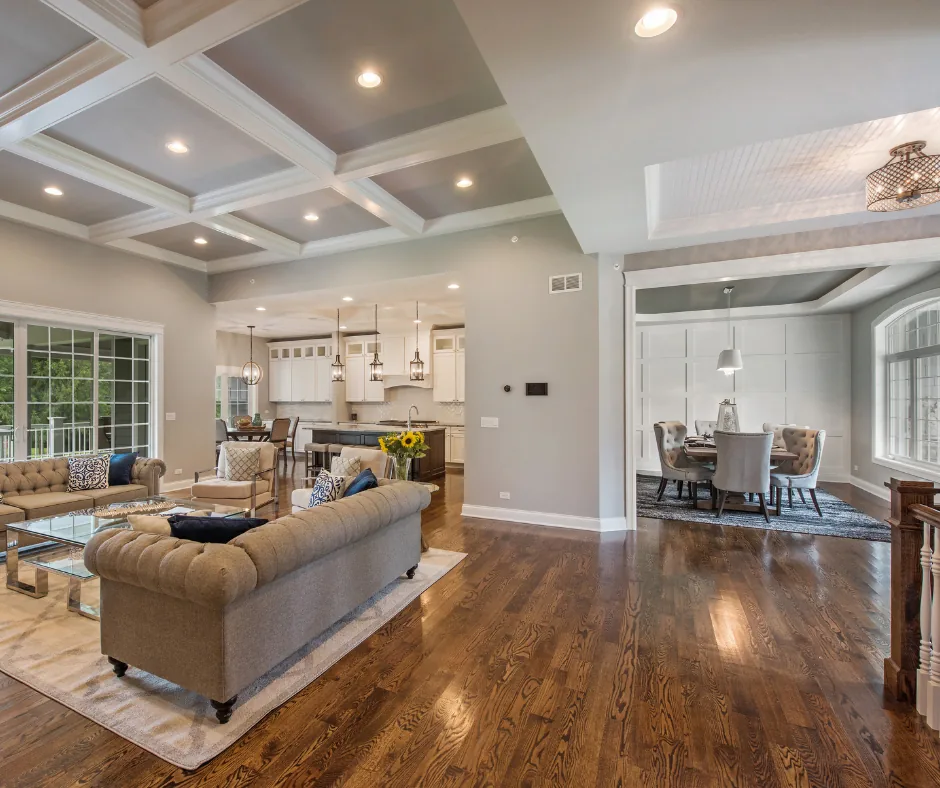
- Straight lay - planks run parallel to the walls; the clean, classic look.
- Diagonal - planks laid at 45 degrees; makes small rooms feel larger.
- Herringbone - a zigzag V-pattern; elegant but far more cutting.
- Mixed - a straight-lay field with a herringbone border for a custom look.
Step 3: Choose an Installation Method
| Method | Best For | Notes |
|---|---|---|
| Click-lock (floating) | Most homes | No adhesive; floor expands and contracts as one unit |
| Glue-down | High-traffic & commercial areas | Permanent bond; use a full-spread vinyl adhesive |
| Grip-strip / peel-and-stick | Budget refreshes | Fastest, but less forgiving on uneven subfloors |
Step 4: Lay the First Row
Trim the short tongue edge off the first plank so it sits flush to the wall, then place it about 1/4 inch out from the wall with spacers - that gap lets the floor move with the seasons. End each row with a cut piece at least 6 inches long, and stagger the joints row to row so seams never line up. Lock each plank end-first, then fold the long edge down until it clicks.
Step 5: Cut Planks to Fit
Score the plank along your cut line with a utility knife and snap it - clean, quiet, no sawdust. For curves around door casings or vents, make relief cuts and nibble away small triangles. Undercut door jambs with a flush-cut saw so planks slide underneath instead of stopping at an awkward gap.
Want the wood look without the DIY weekend?
Book a free in-home estimateCommon Things to Avoid
- Skipping the expansion gap - the floor buckles when it can't move.
- Installing over a bumpy subfloor - every bump shows and wears the joints.
- Short staggered joints - seams that line up split apart over time.
- Locking planks at an angle wrong - force nothing; unlock and redo the row.
What Does Professional Installation Cost?
Installed LVP in the Bryan area typically runs $5-$11 per square foot depending on the product and how much prep the subfloor needs. We bring samples to your home, measure every room, and quote the complete installed price on the spot - see our reviews for what that process is like, or request a free consultation and get your number this week.